Customer List
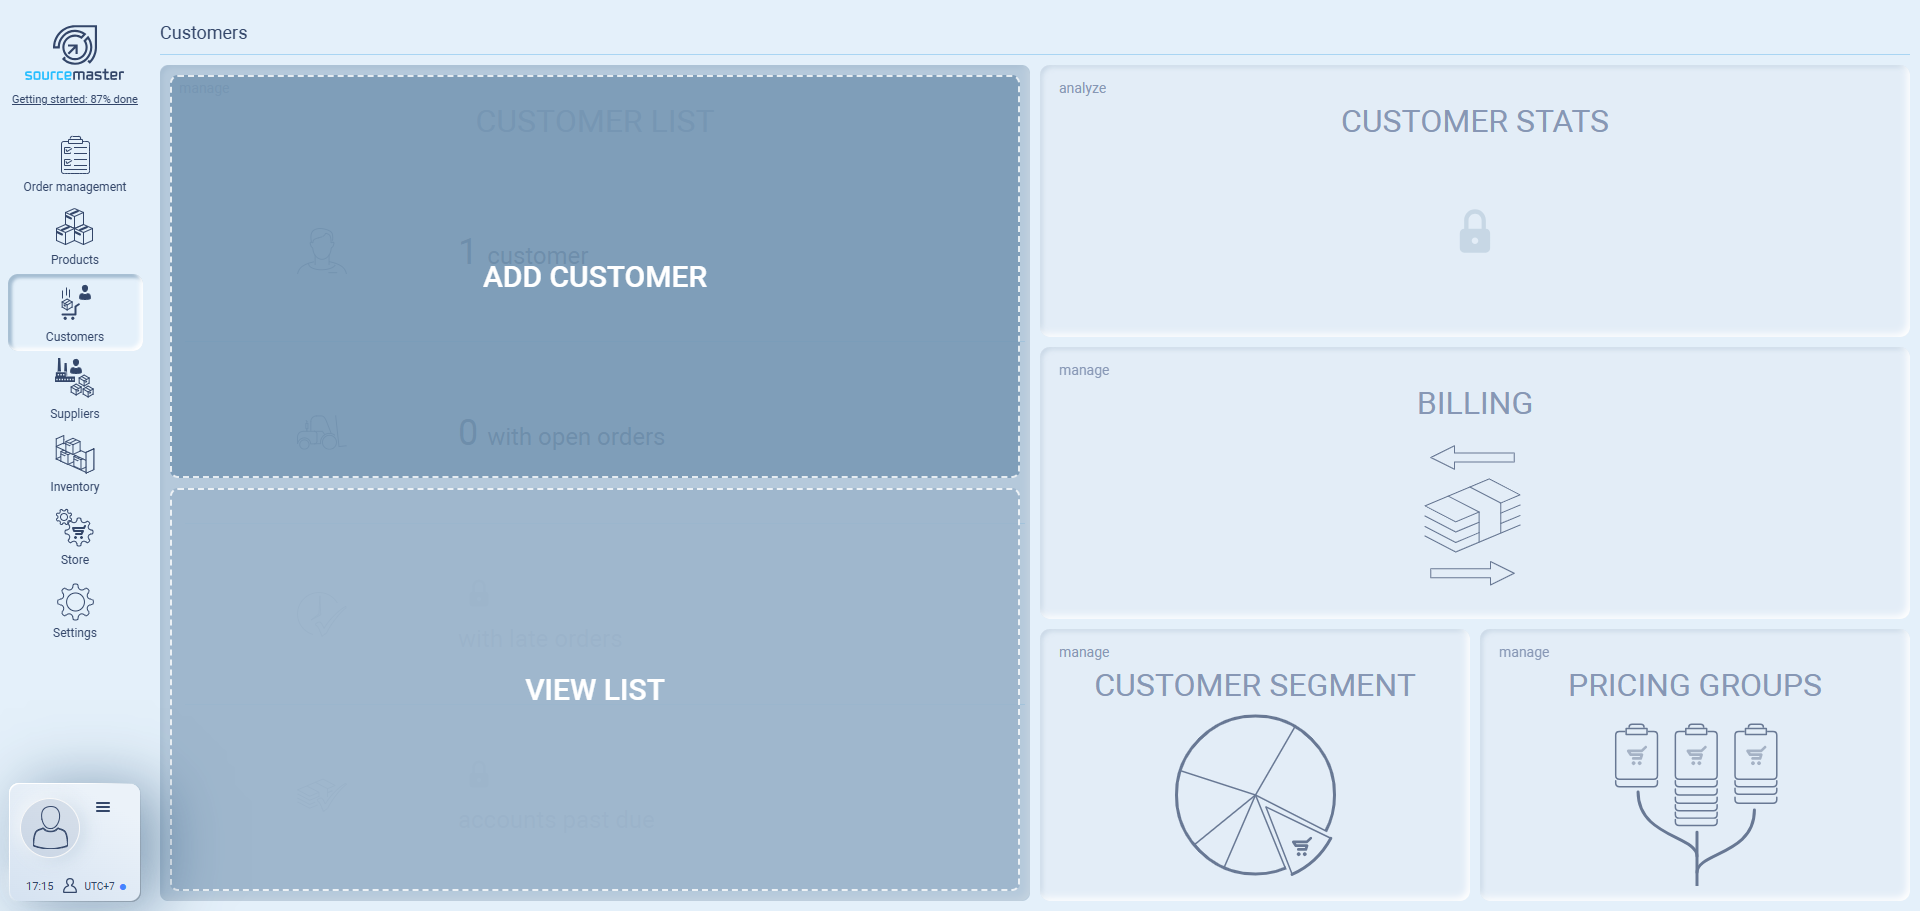
In the Customer List, you can manage all your customers. This includes adding new customers, importing from spreadsheets, and viewing the full list of existing records.
Add Customer
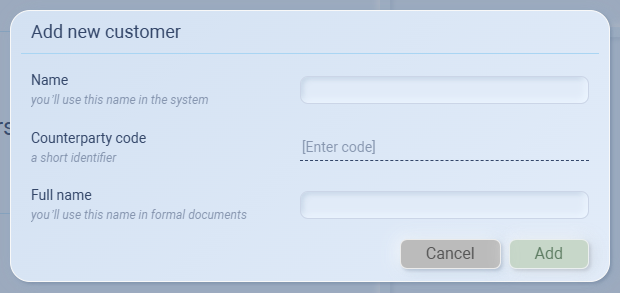
To add a new customer:
-
Click Add Customer.
-
Fill in the required fields:
-
Name: The customer’s short or commonly used name in the system.
-
Counterparty Code: A short identifier (e.g., three-letter code).
-
Full Name: The complete legal or formal company name.
-
-
Click Add to save.
Example:
Name: EcoThreads
Counterparty Code: ECT
Full Name: EcoThreads Sustainable Apparel Inc.
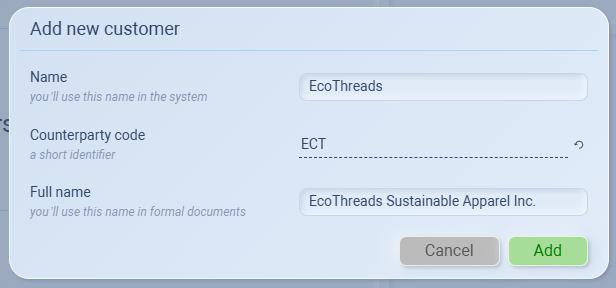
Once saved, the customer will appear in your Customer List.
View List

The Customer List is where all of your registered customers (companies) are displayed. Each entry shows the customer code, company name, segment (if assigned), and their most recent order.
From here, you can:
-
Search and filter your customers.
-
Assign segments for better organization.
-
Check their activity, such as their last order.
Adding Customers
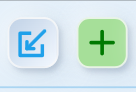
There are two ways to add customers using the top-right buttons:
-
Import Customer List – Upload a spreadsheet to bulk-add multiple customers at once.
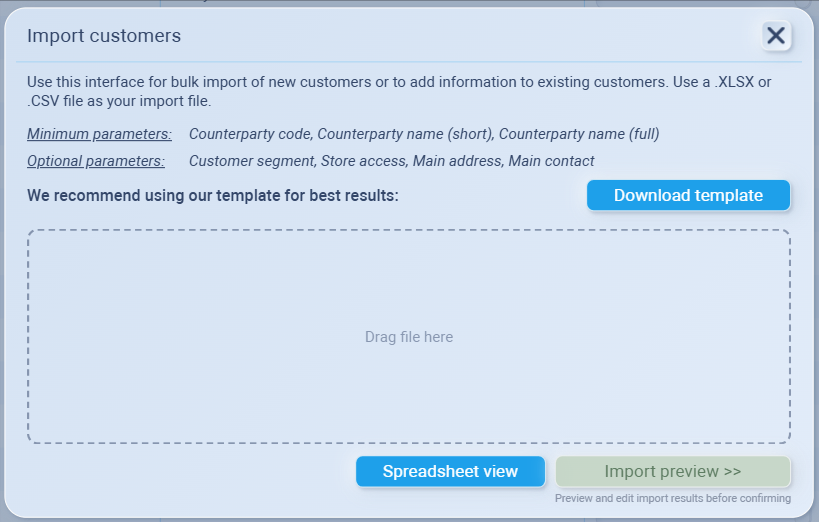
-
Add Customer – Create a new customer entry manually.
Once added, the customer will appear in the Customer List immediately.
Editing Customer Details & Portal Access
After adding a customer, you can set up or update their full profile details.
1. Accessing the Counterparty Profile
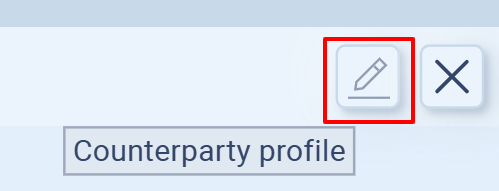
From the Customer list, click on the customer you want to edit. In the right, press the pencil icon ✏️ to open the Counterparty profile.
2. General Information
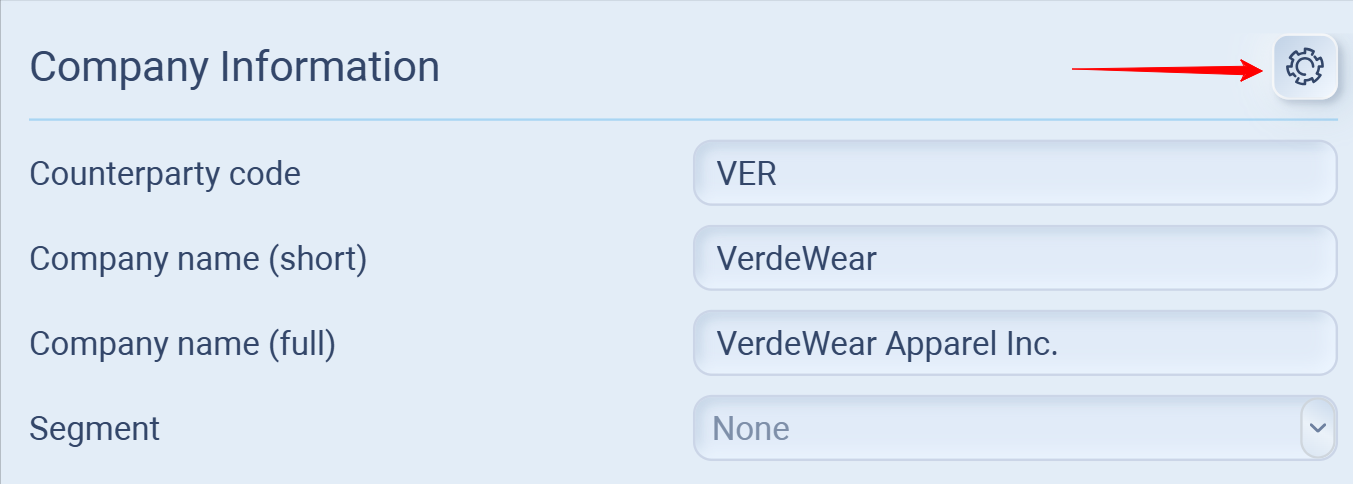
In the profile, you can edit:
-
Counterparty code – A short identifier for the customer.
-
Company name (short) – The display name used in the system.
-
Company name (full) – The formal legal name used in contracts and documents.
-
Segment – Assign the customer to a business segment for reporting and analysis.
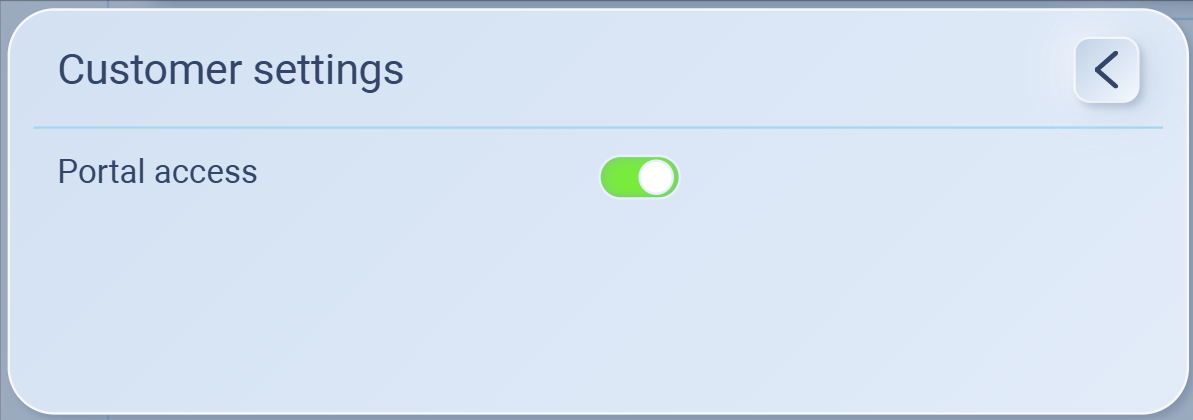
In the top-right corner, you’ll find the settings gear ⚙️. This allows you to control Portal Access:
-
Enabled – The customer can log in to their portal, see shared documents, and interact directly.
-
Disabled – The customer remains in your records but has no access to the portal.
This toggle is useful if you want to keep a company in your database without granting them online access.
3. Addresses & Contacts
When editing a customer profile, you can register Addresses and Contacts. This ensures orders, invoices, and deliveries are tied to the right details.
You can add and manage multiple addresses for each customer. A company may have several offices, warehouses, or billing departments, and all of them can be stored under the customer profile.
Addresses
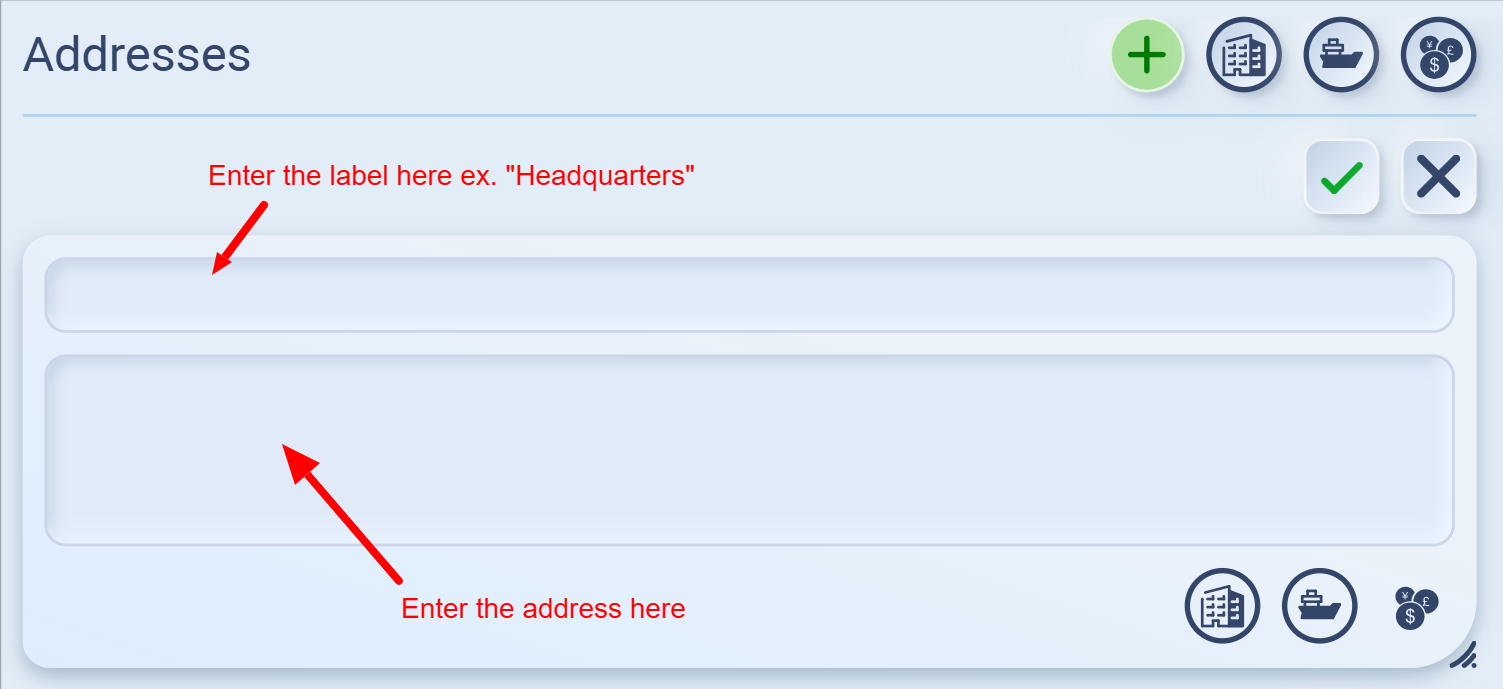
Click the ➕ button under Addresses to add a new address.
-
The top field is for a short label (e.g., Headquarters, Warehouse, Billing Office).
-
The bottom field is the full address.
Example:
-
Label: Headquarters
-
Address: 123 Greenway Blvd, Los Angeles, CA 90017, USA
Once filled, press the ✔️ checkmark to save.
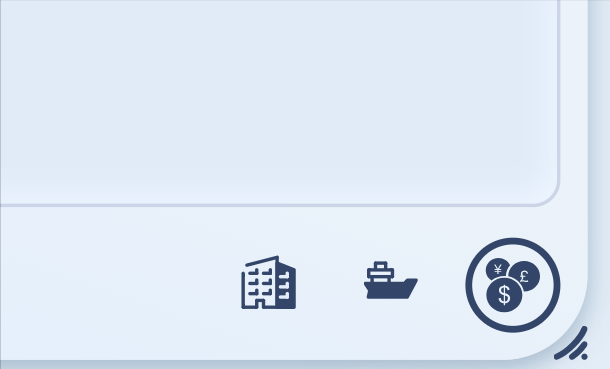
When adding an address, you can also tag it as one (or more) of the following types:
-
Billing – The address for invoices and accounts payable. (company icon)
-
Shipping – The delivery destination for goods. (ship icon)
- Legal – The registered company address used in official documentation. (money icon)
Tags can be toggled freely. A single address can hold multiple tags (for example, the same location may serve as both the legal and billing address).
You can toggle these tags freely.
-
Circled icon = the tag is active for this address.
-
Unselected (Not circled) icon = the tag is inactive.
For example, if you set your headquarters address and circle the 🏢 icon, it will be recognized as the Legal Address. You can also tag the same address as 🚢 (Shipping) and 💰 (Billing) if it serves multiple purposes.
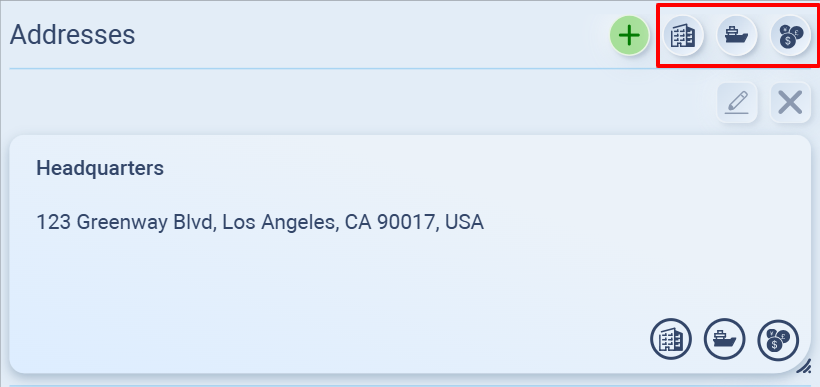
At the top-right of the Addresses section, you’ll also find filter buttons. Clicking these icons lets you quickly filter and view only addresses of a specific type (Legal, Shipping, or Billing).
Editing and Deleting Addresses
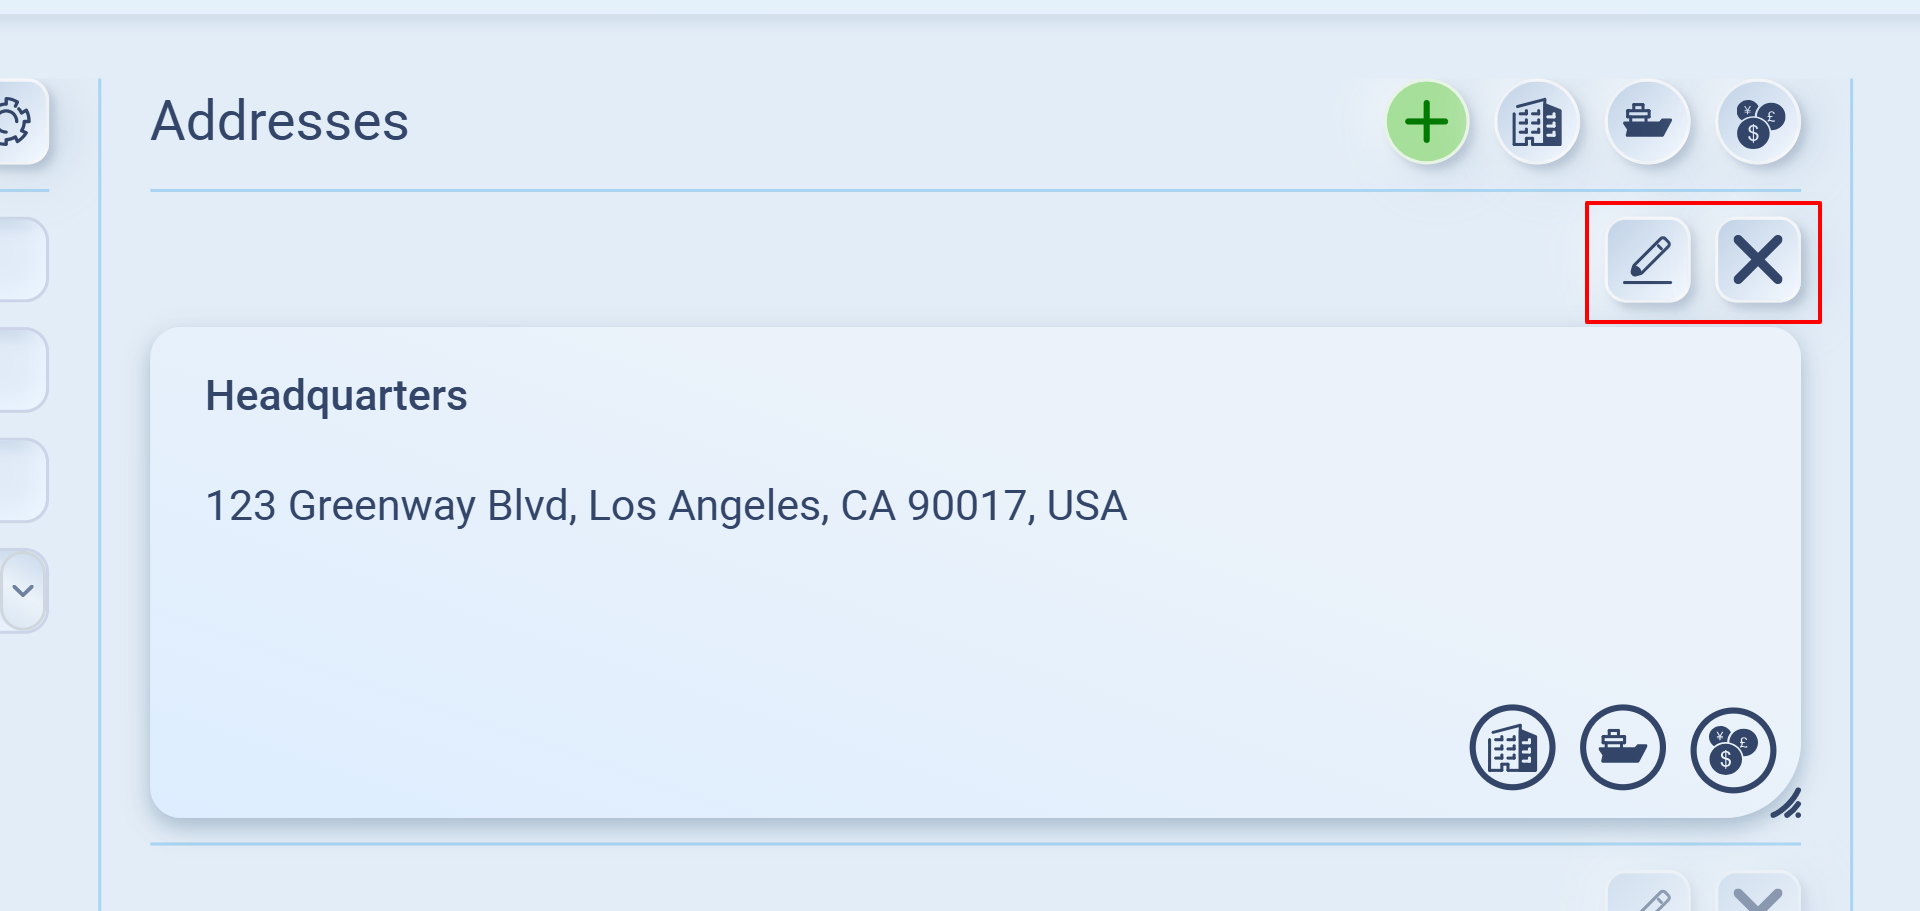
For each saved address, you can:
-
Edit: Click the ✏️ icon to update details such as the label (e.g., Headquarters, Warehouse) or the full address.
-
Delete: Click the ❌ icon to permanently remove the address from the company profile.
This gives you full flexibility to keep company information up to date and accurate.
Contact Information
The Contact Information section lets you store and manage people inside your customer’s organization. Unlike the company address, which identifies where the business is, contact information tells you who to reach out to for specific purposes.
You can add multiple contacts per company, and each contact can be tagged with different roles (general, shipping, billing) depending on their responsibility.
How to Add a Contact
-
Go to the Contact Information panel in the customer profile.
-
Click the ➕ Add button at the top.
-
Enter the following details:
-
Name / Role – for example, Sarah Lee, Logistics Manager.
-
Details – such as email address, phone number, or department notes.
-
-
At the bottom, choose the appropriate tags to classify the contact:
-
🏢 General Contact – main point of contact (e.g., buyer, account manager).
-
🚢 Shipping & Delivery Contact – logistics, warehouse, or receiving manager.
-
💰 Billing Contact – finance, accounts payable, or invoicing person.
-
👉 You can assign multiple tags to the same contact. For example, a small company may have one person handling both purchasing and billing.
Contacts
Click the ➕ button under Contact information to add a person connected to this customer.

Example format:
- Name: [Full name]
-
Role: [Position]
-
Email: [work email]
-
Phone: [Tel. number]
This way, your sales and purchasing teams always know who to reach for orders or negotiations.
Portal Access settings
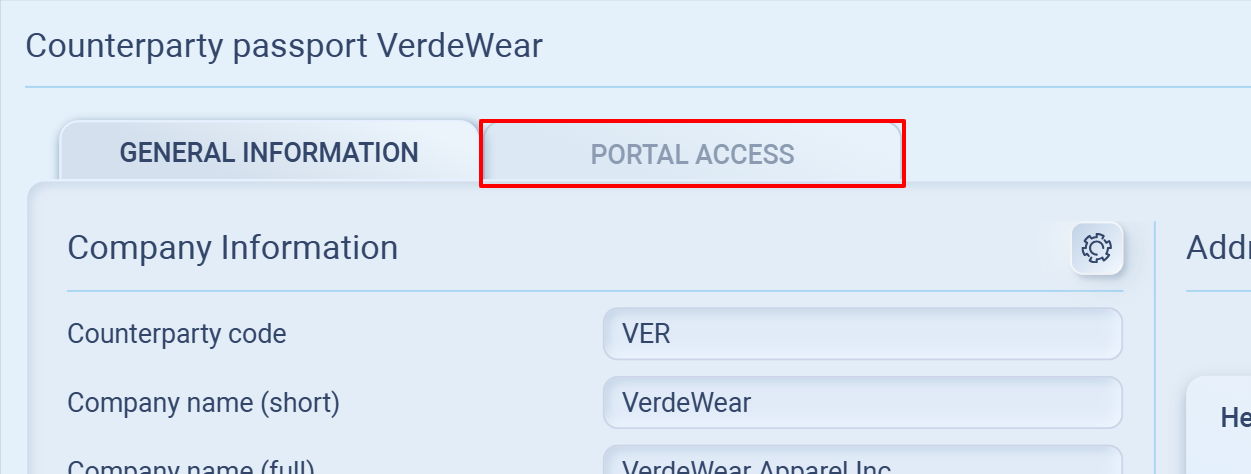
The Portal Access tab lets you manage how your customer interacts with Sourcemaster and what resources they can access. It has three key components:
-
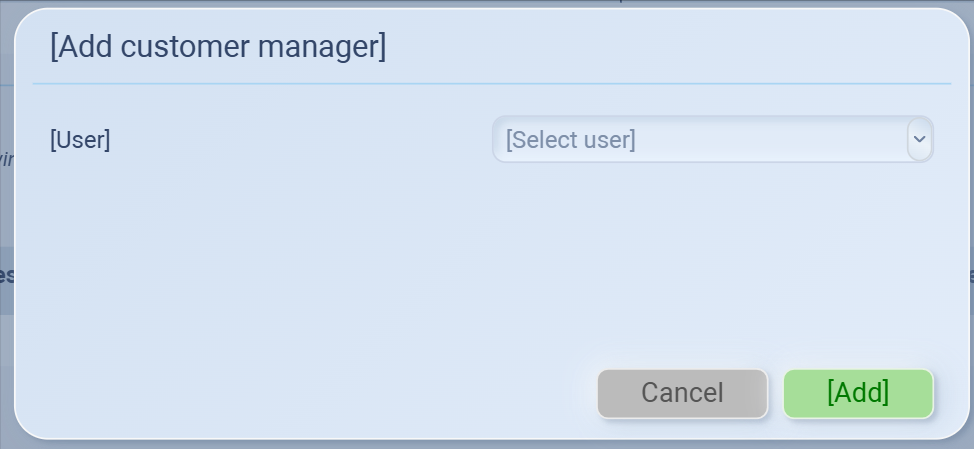
Client Manager
Assign an internal team member as the Client Manager for this customer. This is useful for tracking responsibility inside your company.Note: The Client Manager must already exist in your Sourcemaster team before you can assign them here.
This is your internal team member (e.g., your sales rep) who is responsible for managing this client.
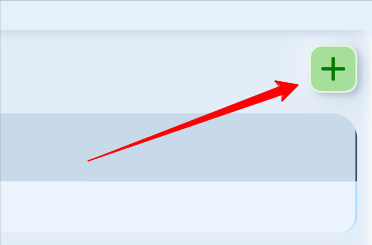
To add: click the green ➕ Add button, select from your existing team members, and confirm.

To remove access, hover over a catalog entry and click the X to remove access. -
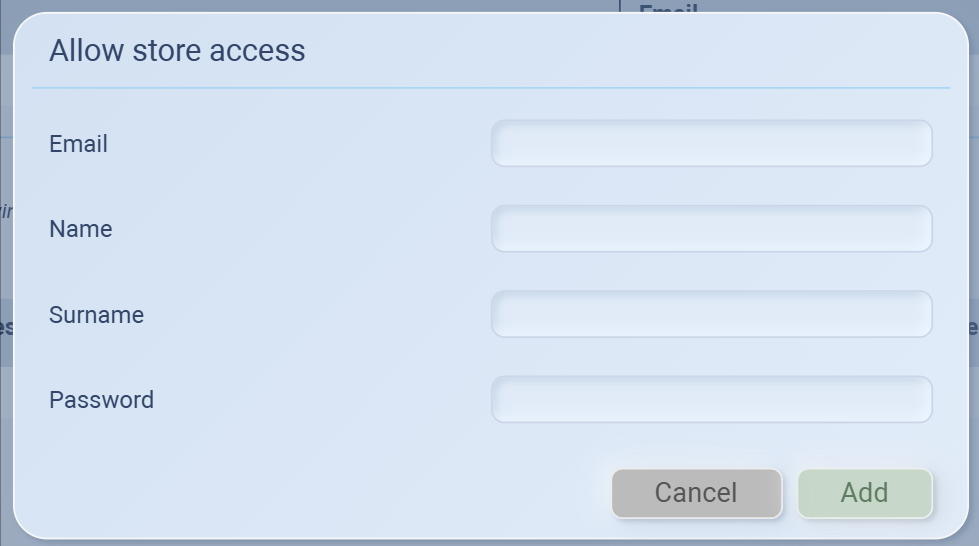
Lead User (Admin) for the Customer
Add an external partner contact as the Lead User (admin) for this customer. This person will be the main user managing the client’s portal access. They will typically be responsible for placing orders, managing documents, and communicating with your team.-
This is the external partner’s main user (e.g., their purchasing staff) who will log in on behalf of the client company.
-
To add: click the ➕ Add button, enter their Name, Surname, Email, and a temporary Password, then share that password with them so they can log in. (and don't forget to click Add to confirm)
To remove access, hover over a catalog entry and click the X to remove access. -
-
Catalog Access
Control which product catalogs the customer can see and place orders from.You can:
-
Filter by “Show all,” “Current only,” “Scheduled only,” or “Expired” catalogs using the dropdown.
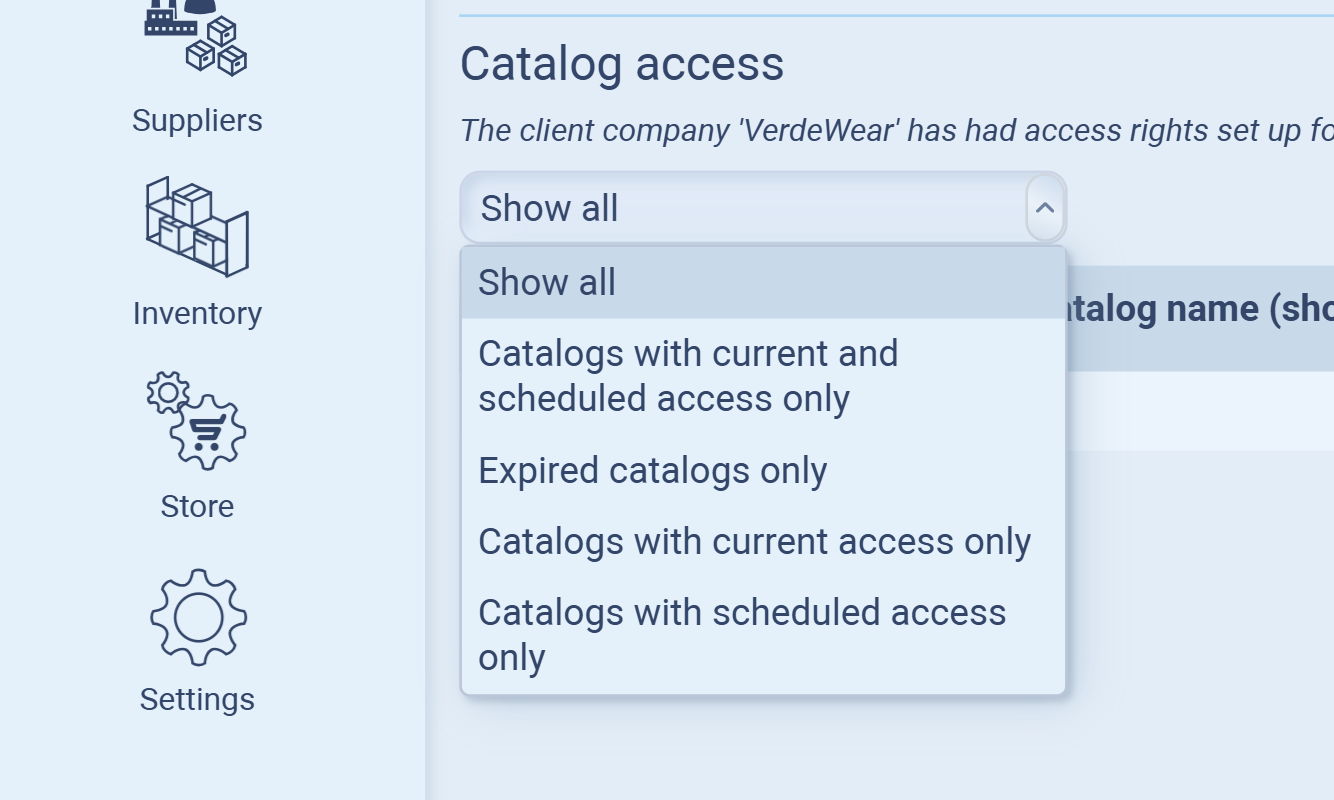
-
Add a catalog by clicking ➕ Add, then specify which catalog they can access, along with valid dates, currency, and nominated seller if needed.

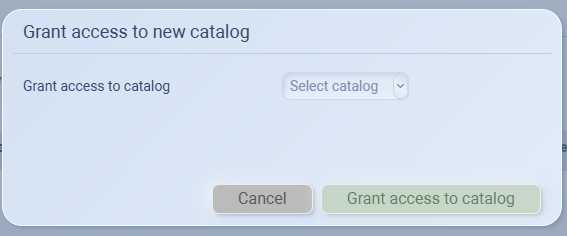
When you add a new catalog for a client, this window appears.
-
Grant access to catalog
-
Use the dropdown menu to select which catalog you want the client to see.
-
Only catalogs that exist in your system will appear here.
-
-
Confirm access
-
Once you select the catalog, click Grant access to catalog to confirm.
-
The catalog will then appear in the client’s Catalog Access list, showing details like start/end dates, currency, and nominated seller.
-
-
-
You can grant or restrict access at the catalog level.
-
For each catalog, you can specify:
-
Catalog name (internal and customer-facing)
-
Access period (valid from and through dates)
-
Currency used for the catalog
-
Nominated seller (who the customer interacts with)
-
Detailed settings for additional restrictions.
-
-
This setup ensures that your internal responsibilities are clear, your customer has the right point of contact, and only the appropriate catalogs are accessible to them.
Assign Access
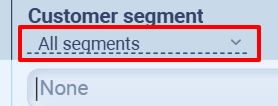
For quick assign, open Customer list, in Customer Segment column, click on drop-down and select the segment to assign.

If you assign segment to customer, you can filter it using drop-down.
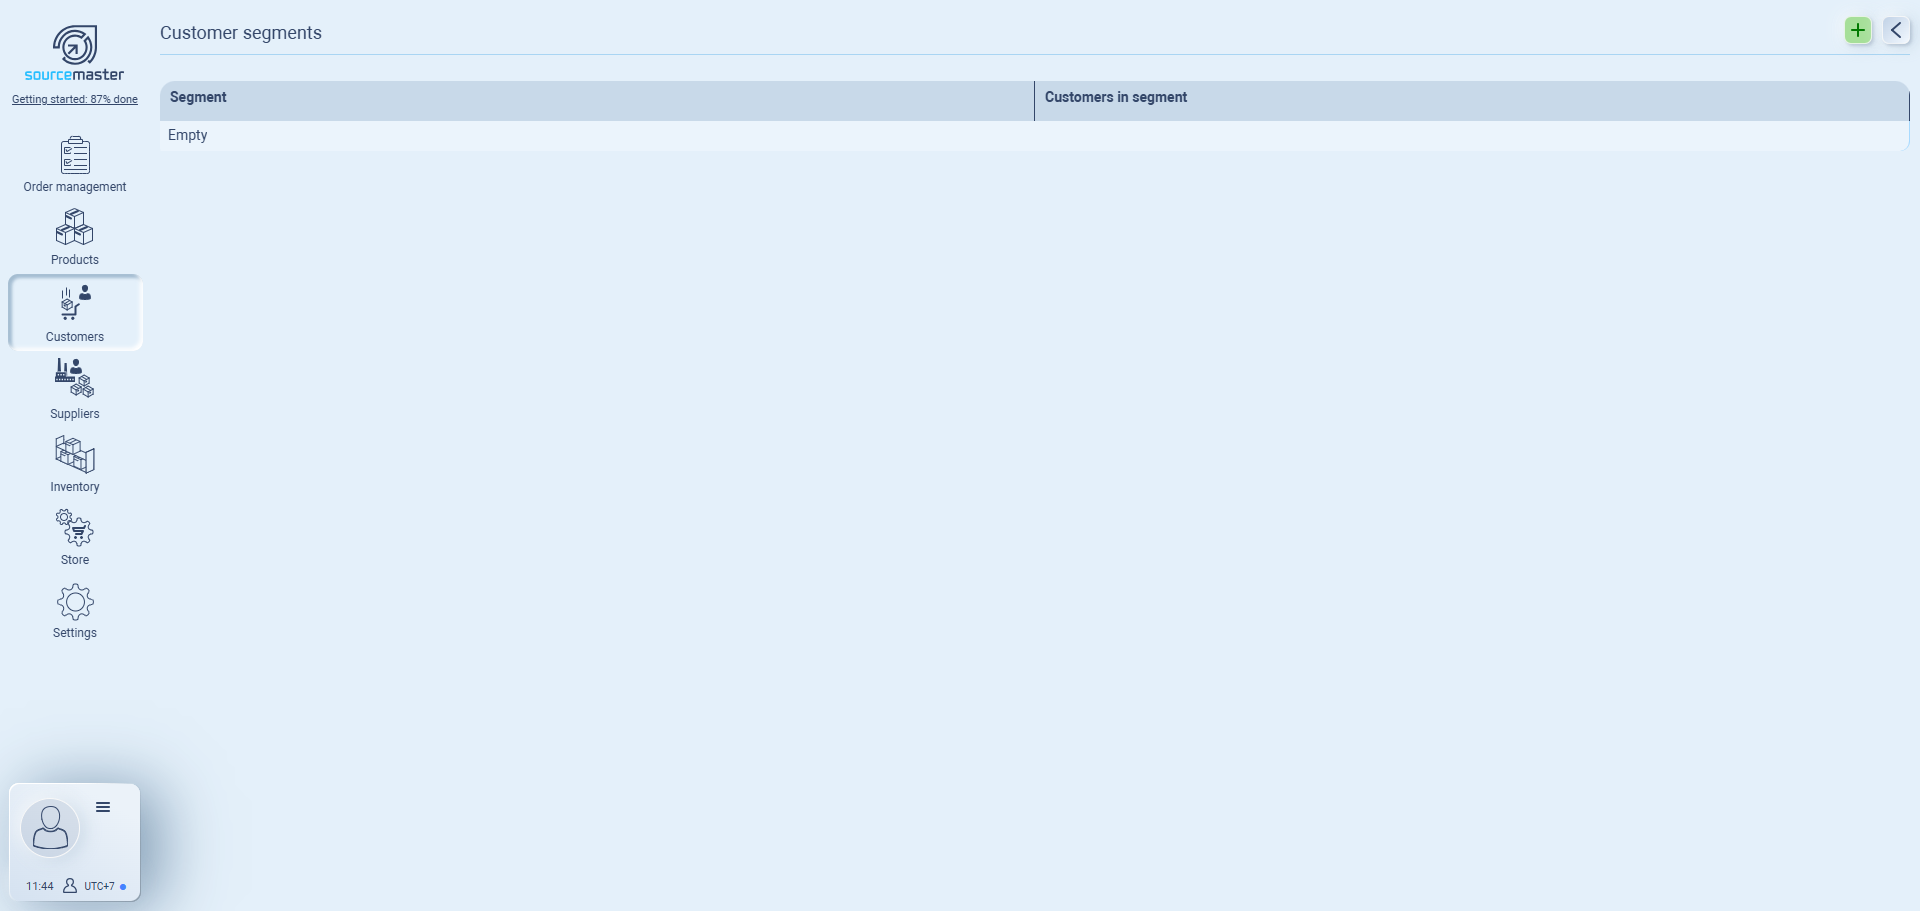
Customer Segments
Customer Segments allow you to group your customers based on business logic that matters to you, such as Premium Customers, Wholesale Buyers, Trial Accounts, or Regional Clients. Assigning segments ensures you can manage and filter customers efficiently, especially when your list grows.
Creating a Customer Segment
-
Open Customer Segment
Go to Customers → Customer Segment.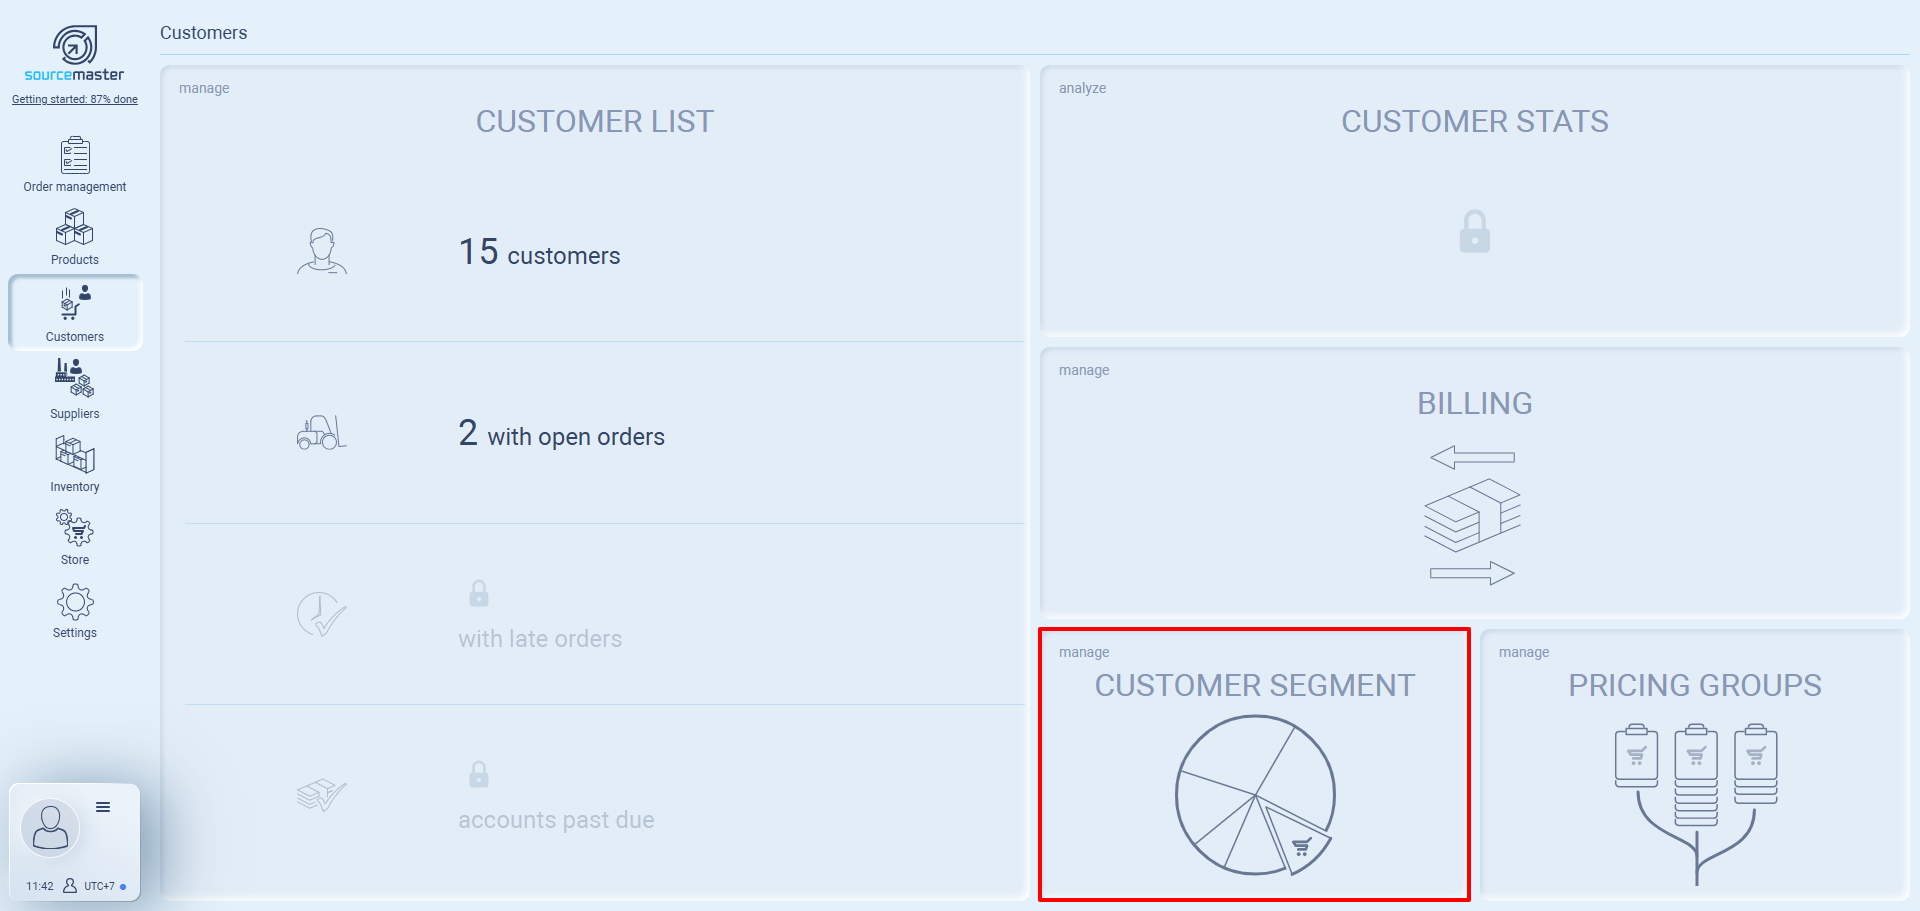
-
Add New Segment
Click the ➕ button in the top-right.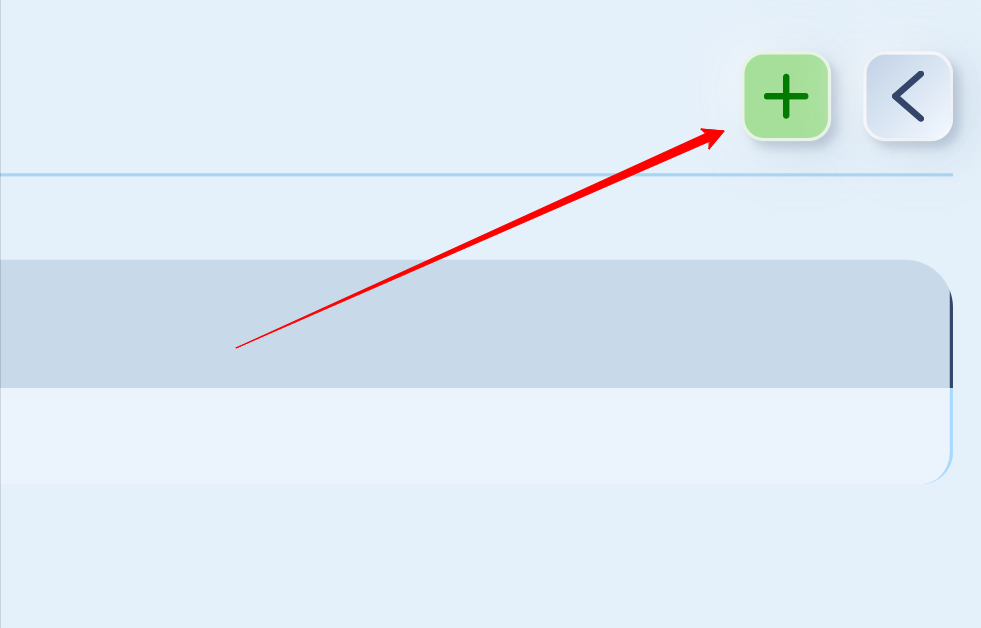
-
Name the Segment
Enter the segment name (e.g., Newcomer Customers). Click anywhere to save.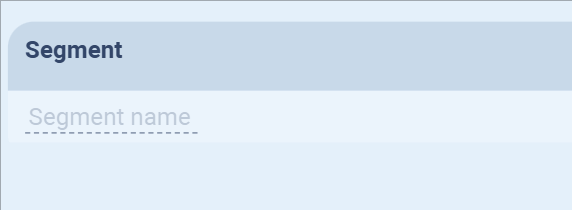
-
Use the Segment
Segments will appear in the list and can be assigned to customers in the Customer List.
We recommend assigning a segment to every customer. This makes it much easier to filter customers at the top of the list and run quick analysis later.
Filtering by Segment
Once your customers have been segmented, you can use the filter option at the top of the Customer List to display only the customers within a specific segment.
-
Example: Select Premium Customers to instantly see only those accounts.
-
This helps you target specific groups for promotions, account management, or reporting.
Creating Segments
Before you can assign a segment, it must be created. Segments can be added in the Customer Segment settings. Define them based on how you want to categorize your clients:
-
By value (e.g., Premium, Standard, Basic).
-
By region (e.g., North America, Europe, APAC).
-
By relationship type (e.g., Distributor, Retailer, Direct Buyer).
Best Practices
Keep your segment list meaningful but manageable. Too many overlapping categories will make filtering less effective.
Align your segments with your sales and reporting needs. For example, if you report revenue by region, create segments by region.
Update segments regularly — customers may move between categories over time.
💡 If this doesn’t solve your issue or you have more questions, feel free to reach out through our [contact form]. We’ll get back to you within 2–3 business days.