Adding Customers
Once your company information is set up, the next step is to add your customers.
Customers will be stored in the Customer List, which contains:
-
Customer code (unique short identifier, usually 3 characters)
-
Company name
-
Customer segment (must be created in the system first)
Example in the list:
-
BLU = BlueRiver, Segment = Retail Chains / Boutiques
-
ECW = EcoWear, Segment = Corporate Buyers
Two Ways to Add Customers
1. Import from File (Recommended for bulk adding)

-
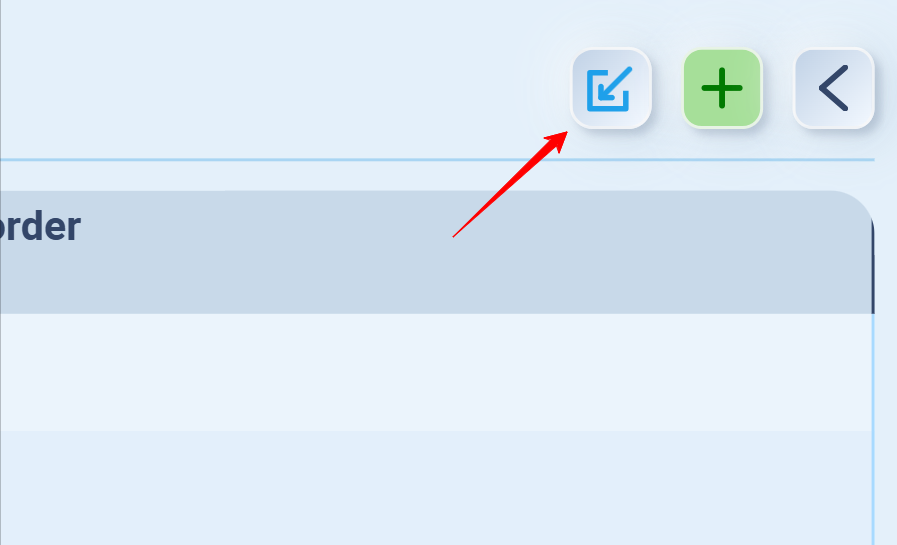
Go to Customer List → click the Import button (blue arrow icon).
-
Download the template to see the correct format.
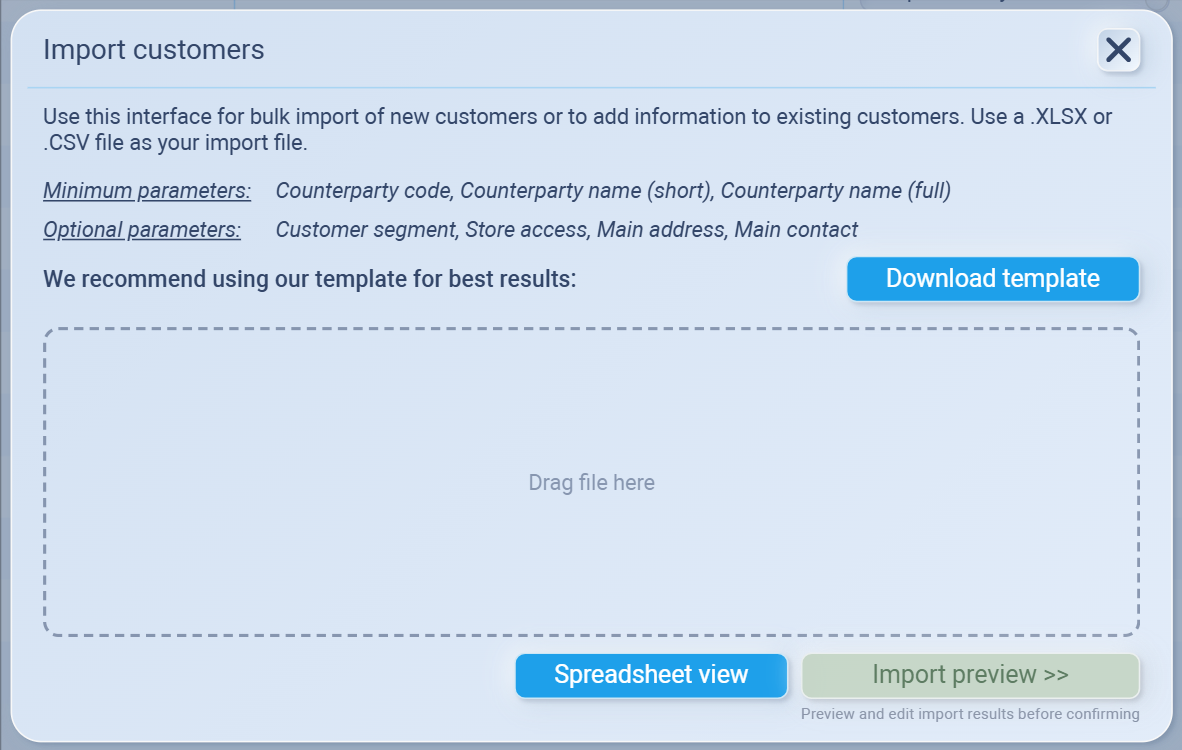
Minimum required: Customer code, short name, full name
Optional: Segment, store access, main address, main contact -
Prepare your file, then drag & drop it into the Import window.
-
Click Import Preview to review your data.
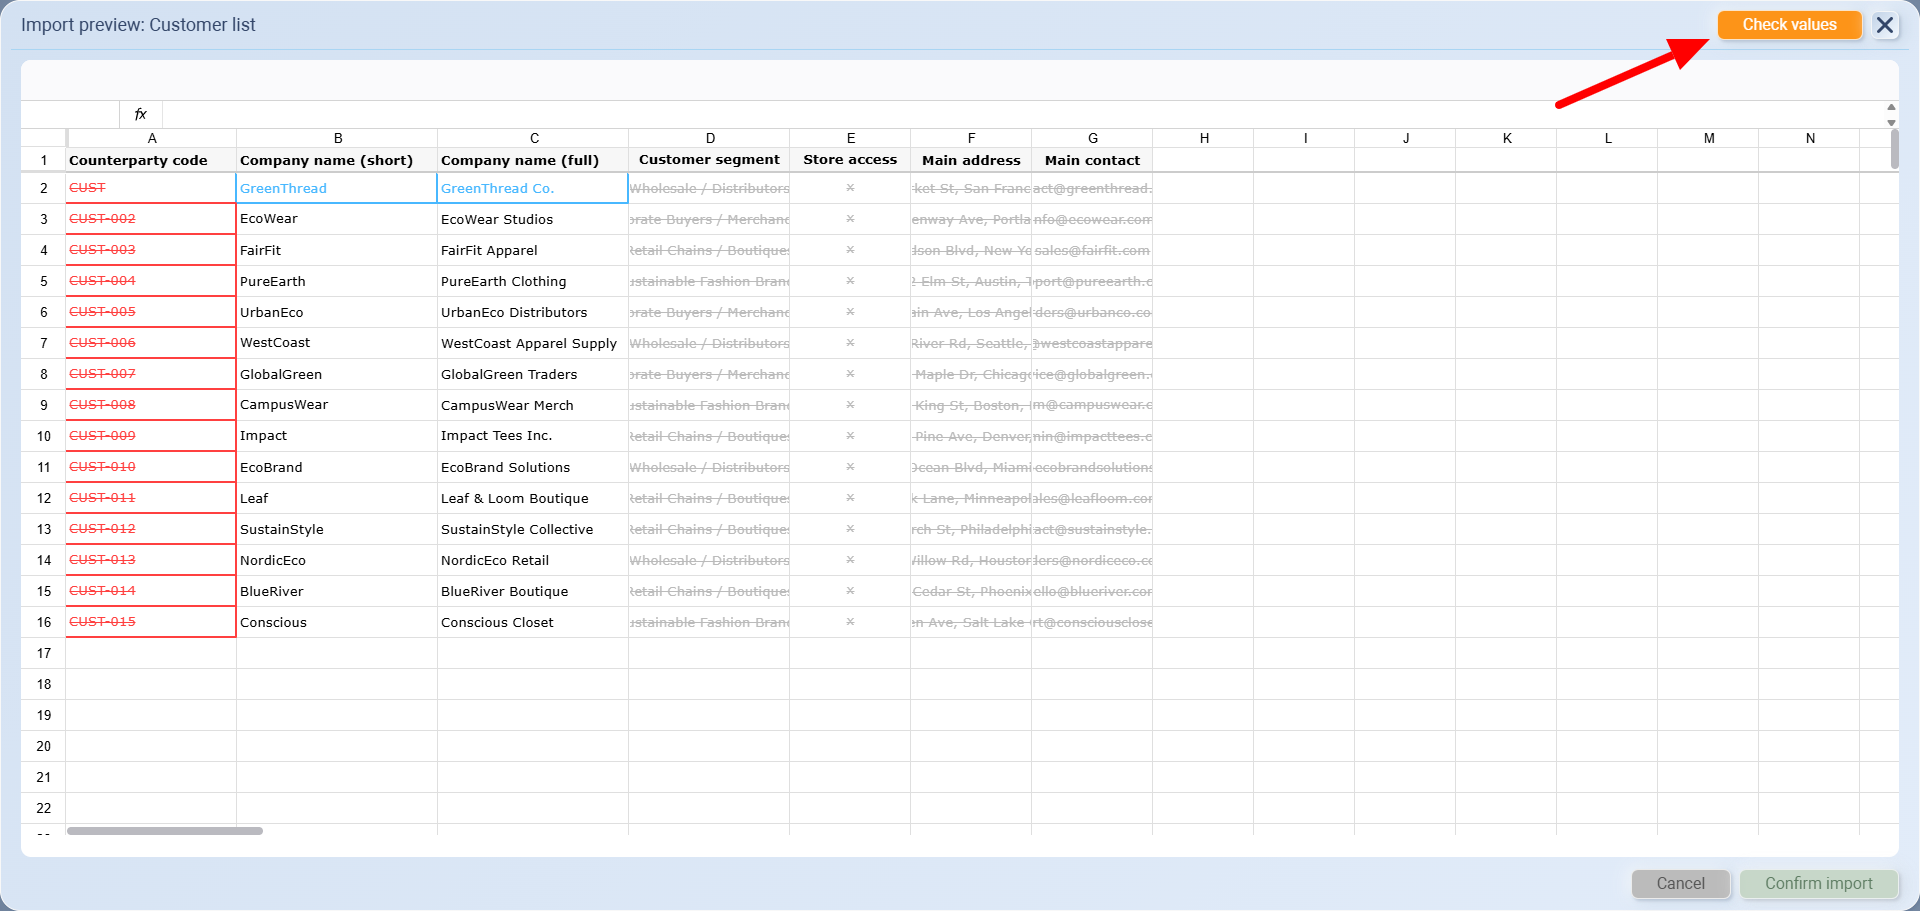
The system will highlight rows with color codes:
Blue = new customer
Orange = system auto-corrected a value (e.g., fixed a code)
Red / Grey / Cut value = error or mismatch
⚡ Check Values (top right) → works as both a verifier and a fixer.
It scans your data for errors.
It auto-cleans and adjusts some issues (like generating a valid Counterparty Code if yours doesn’t follow the rules).
Once all rows are validated, click Import to confirm.
Then go Customer list to check the data
Everloom_Customers_Mock_(1).xlsx
2. Add Manually (One by one)
-
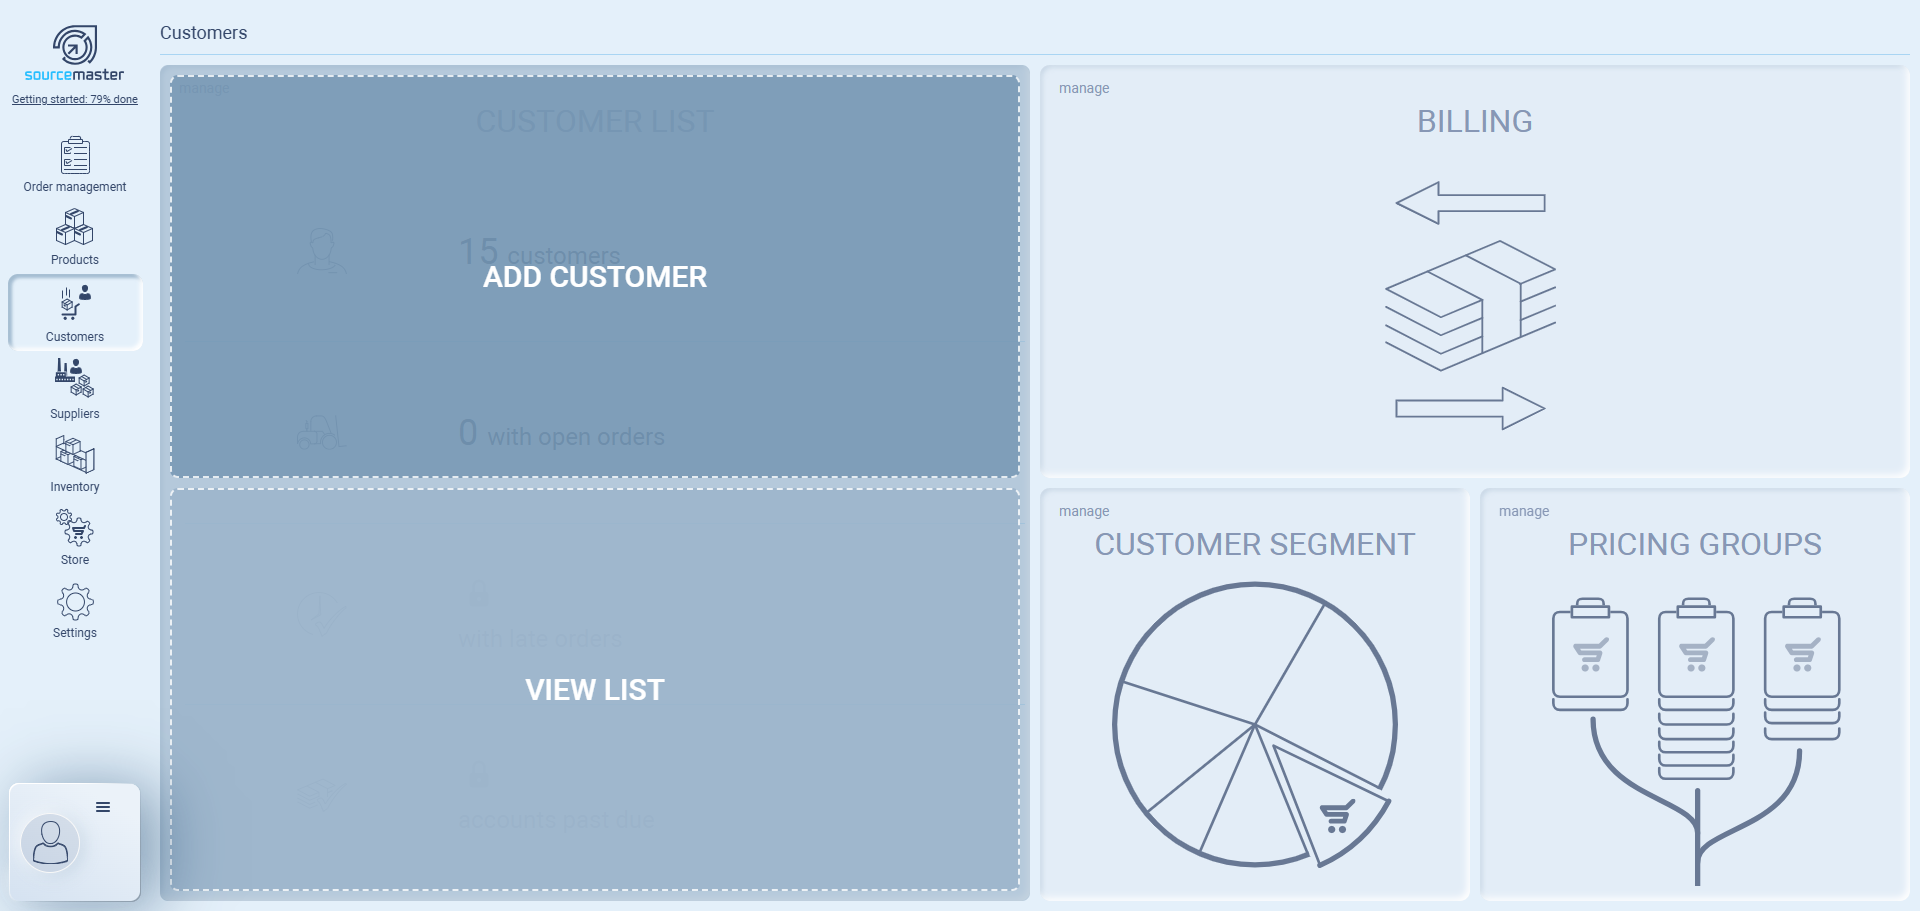
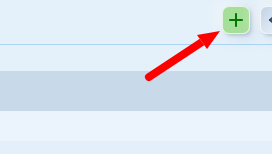
Go to Customers → Click Add Customer (or use the green + inside Customer List).
-
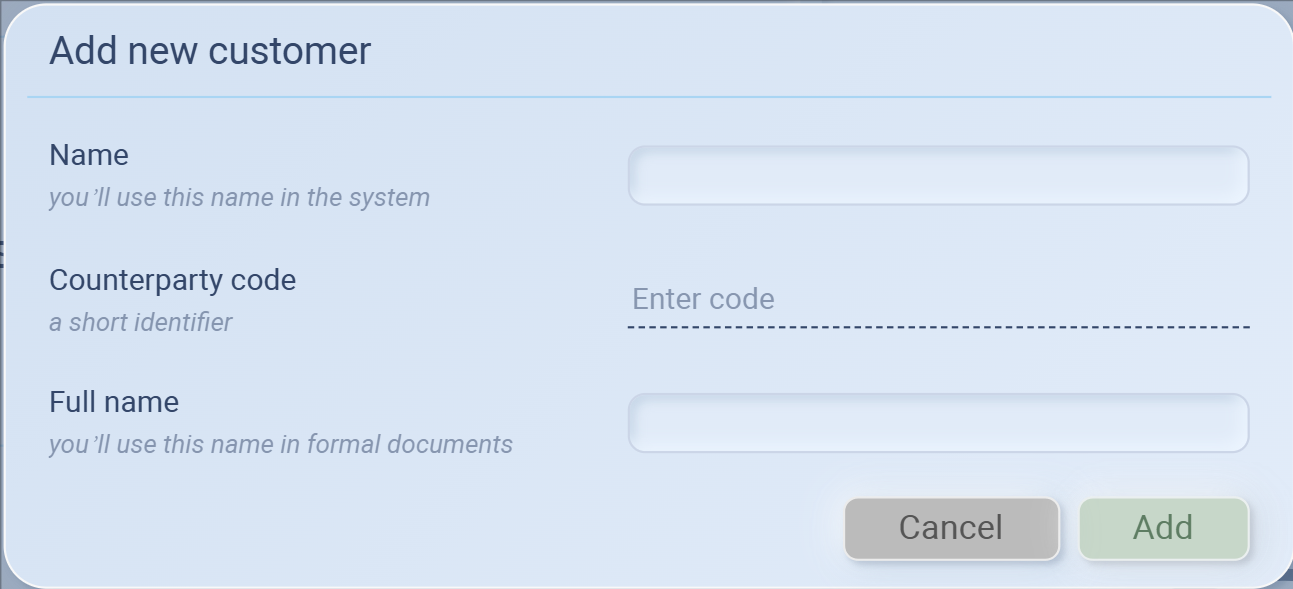
Fill in the form:
-
Name = short name for internal use
-
Counterparty Code = unique 3-letter code
-
Full Name = full legal/company name (for invoices & documents)
-
-
Click Add to save.
- To assign the customer segment, select from the dropdown in the list. (You need to set customer segment in the system first)

Customer Segments
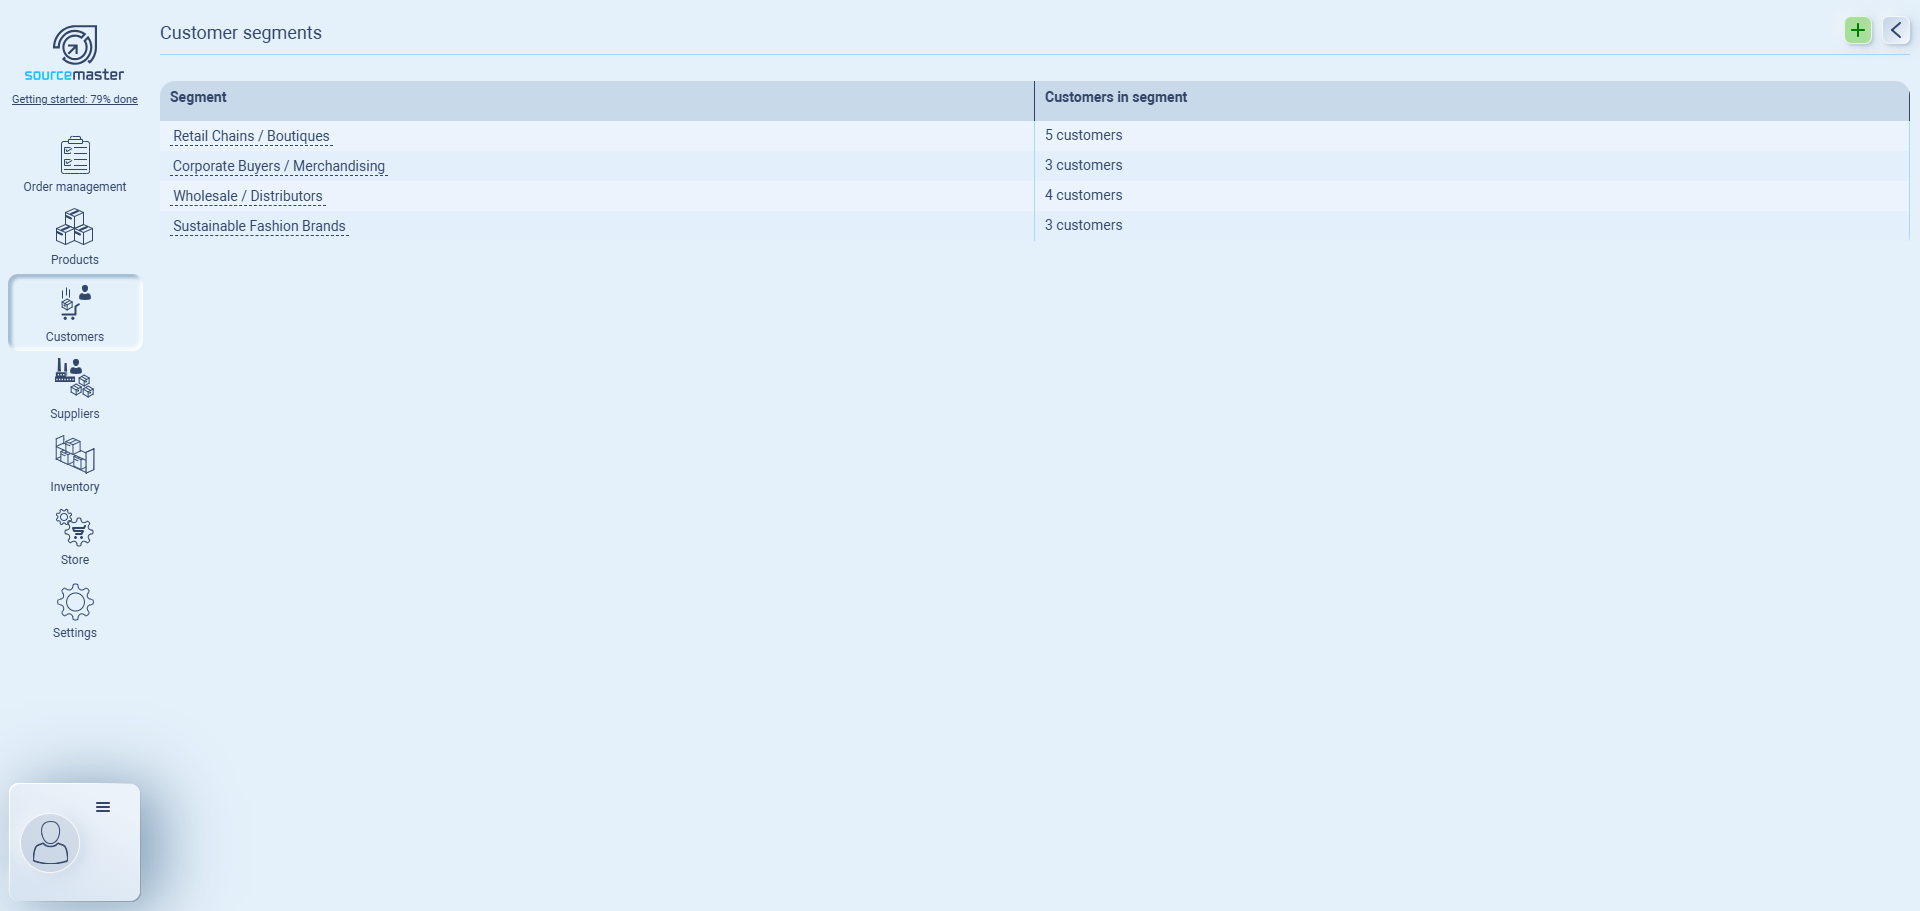
To create customer segments in sourcemaster:
-
Go to Customer Segments.
-
Click + (top right).
-
Enter the segment name (e.g., “Wholesale / Distributors”).
-
That’s it — now you can assign customers to this segment when adding/importing.
Always set up your Customer Segments first, then import or add customers. It prevents errors and keeps your database organized.
Editing Customer Details
Once a customer is added to the list, you can edit and enrich their profile.
-
Open Counterparty Passport
-
Go to Customer List, find the customer you want to edit.
-
Click the Edit (pencil) icon on the right.

-
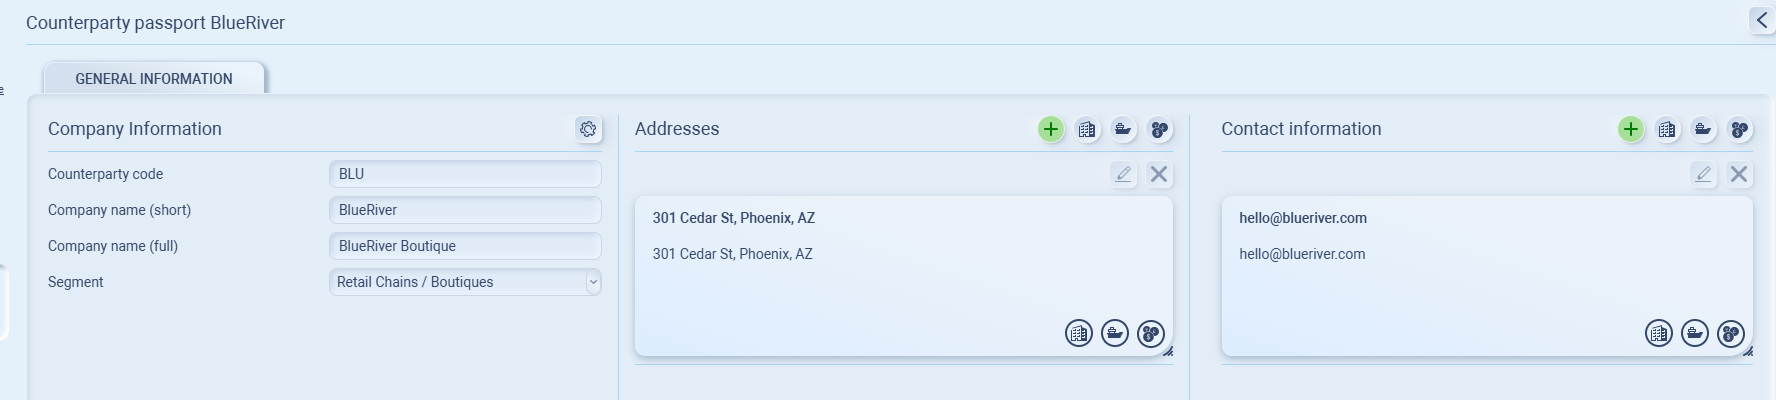
This will open the Counterparty Passport.
-
-
Company Information
-
Check the Customer code, Short name, Full name, and Segment.
-
-
Addresses Information
-
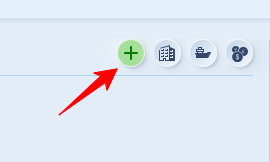
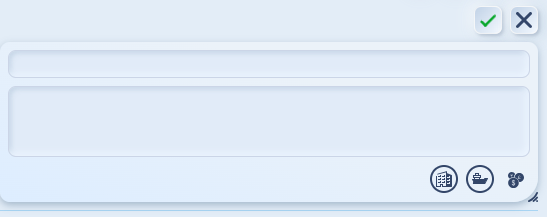
Click the + button to add a new address.
-
Enter the details, then confirm with the ✅ button (or cancel with ❌).
-
Use the tags by toggle on the icon (🏢 for legal address, 🚢 shipping address, 💰 billing address) to specify the type of address.
You also can tag multiple roles.
-
Each customer can have multiple addresses, tagged appropriately.
-
Click the + button to add a new contact.
-
Enter the name, role, email, and phone number.
-
Confirm with ✅ (or cancel with ❌).
-
Use the tags by toggle on the icon (🏢 purchasing, 🚢 shipping, 💰 billing) to define the contact’s role.
-
Each customer can have multiple contacts, each tied to their responsibility.
Contact Information
-
Example:
💡 If this doesn’t solve your issue or you have more questions, feel free to reach out through our [contact form]. We’ll get back to you within 2–3 business days.